Inside Concrete Crushing Magazine: The Industry’s Essential Resource
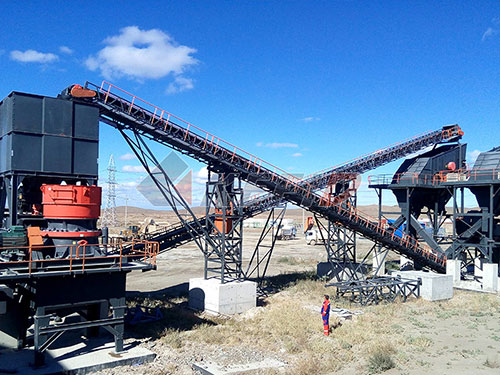
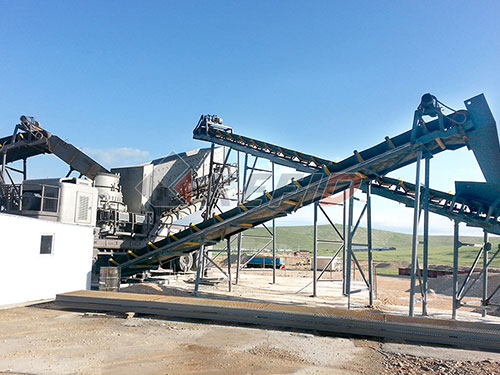
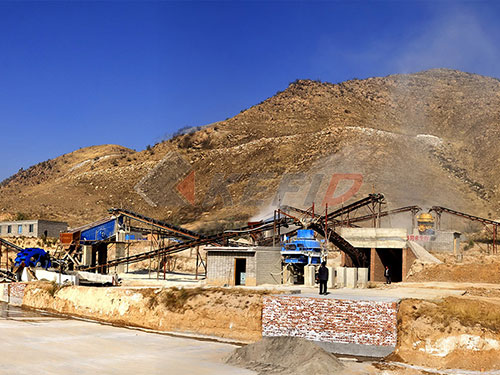
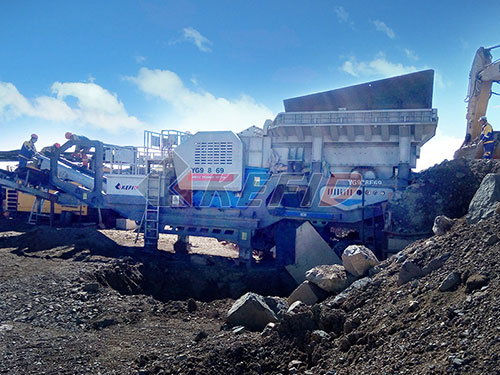
Walk onto any modern demolition or recycling site, and the deep rumble of heavy machinery crushing concrete is unmistakable. It’s the sound of progress – old structures making way for the new, and valuable materials being reborn. For the professionals orchestrating this complex process, staying informed isn’t just helpful; it’s critical for efficiency, safety, and profitability. This is where Concrete Crushing Magazine steps in as an indispensable resource.
More Than Just Breaking Rocks
Concrete Crushing Magazine understands that successful concrete crushing operations are multifaceted. It’s not merely about powerful machines breaking down slabs; it involves strategic planning, equipment selection and maintenance, material handling logistics, stringent safety protocols, evolving environmental regulations, and finding profitable markets for the resulting aggregate. The magazine serves as a dedicated platform addressing all these interconnected facets.
Who Reads It?
The publication speaks directly to the core of the industry:
Demolition & Recycling Contractors: Owners and operators seeking insights to optimize fleet performance, reduce downtime, improve job bidding accuracy, and navigate regulatory landscapes.
Equipment Managers & Maintenance Crews: Technicians focused on maximizing crusher uptime through effective maintenance strategies and troubleshooting.
Aggregate Producers: Professionals looking to integrate recycled concrete aggregate (RCA) into their product lines or understand market dynamics.
Engineers & Project Managers: Individuals involved in specifying crushing requirements or managing large-scale demolition/recycling projects.
Equipment Manufacturers & Dealers: Companies showcasing innovative technologies and solutions directly to their target market.
Core Content Pillars: Delivering Tangible Value
The magazine consistently delivers actionable intelligence through key content areas:
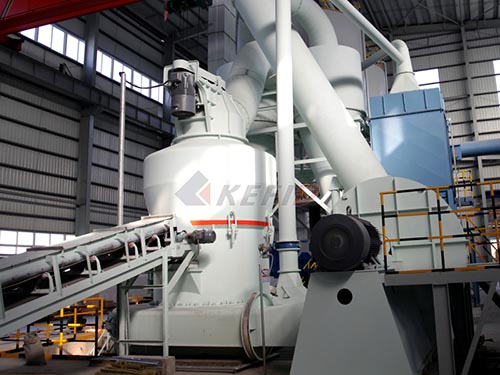
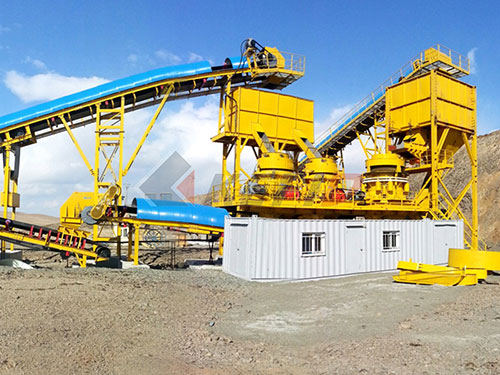
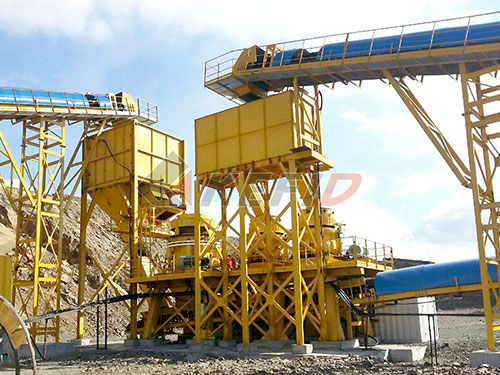
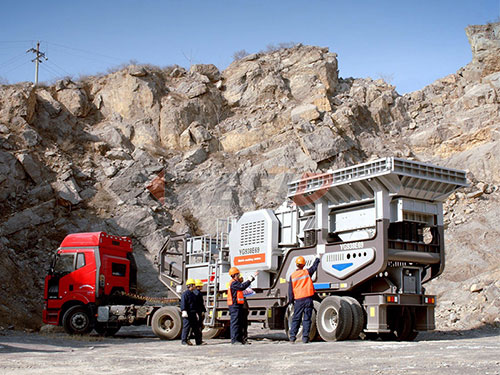
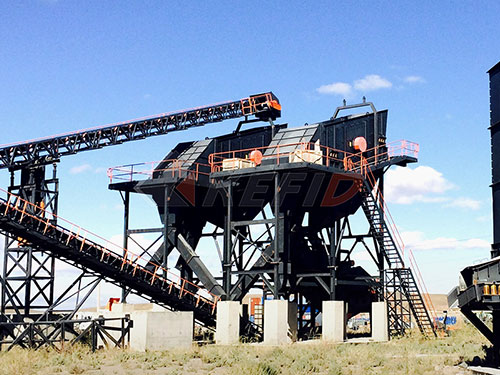
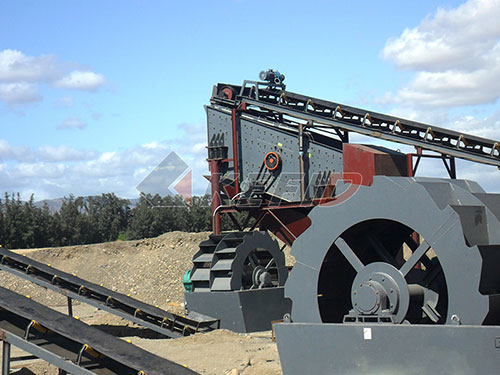
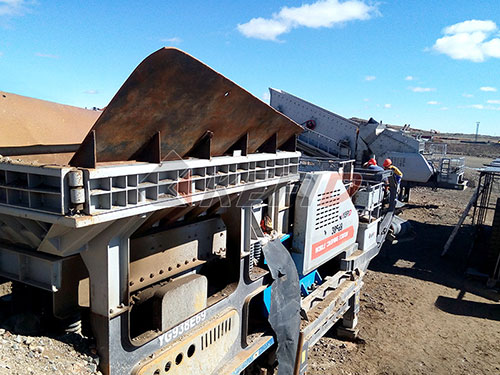
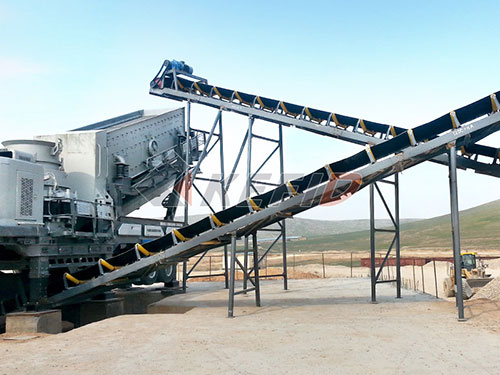
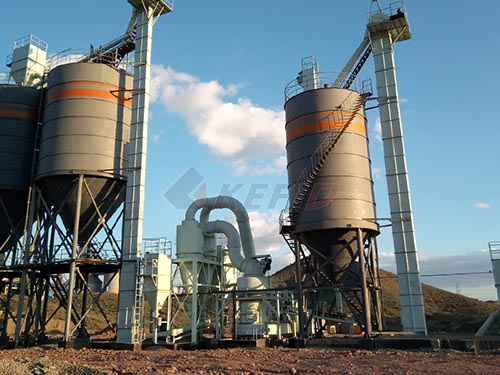
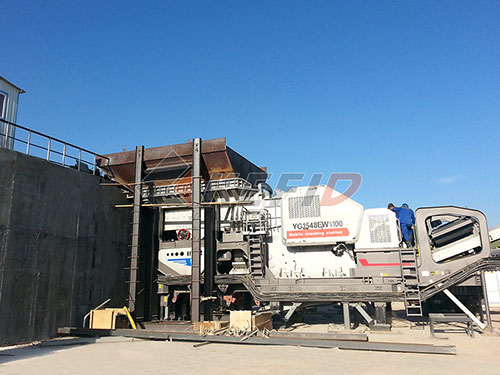
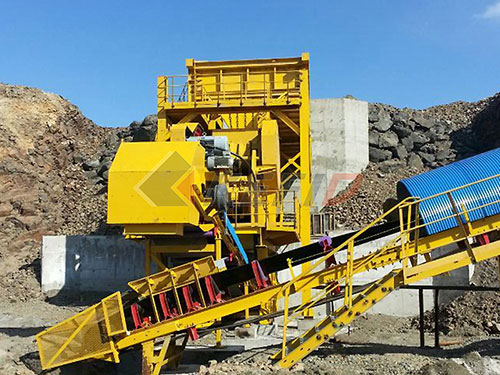
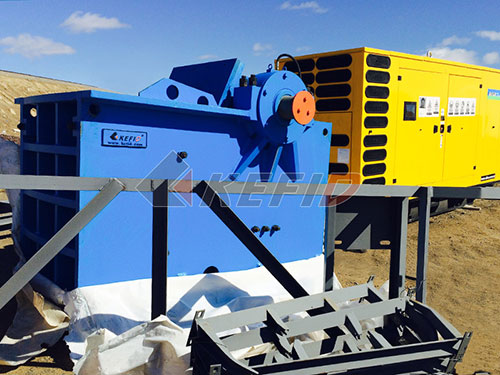
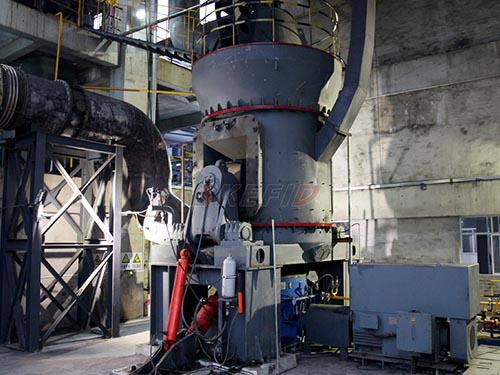
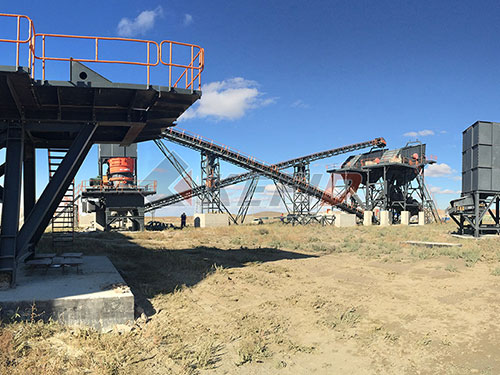
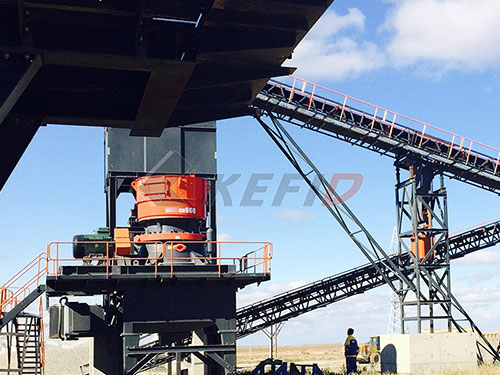
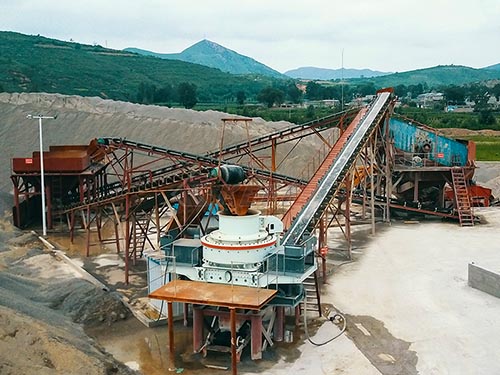
1. In-Depth Equipment Reviews & Comparisons: Unbiased analysis of primary jaw crushers, impactors, cone crushers, screeners (including trommels), material handlers (grapples), dust suppression systems (mist cannons), and mobile track systems. Real-world performance data and operator feedback are paramount.
2. Technical Expertise & Best Practices: Practical articles covering:
Optimizing crushing settings for different concrete types (reinforced vs. non-reinforced).
Effective maintenance schedules and component wear management.
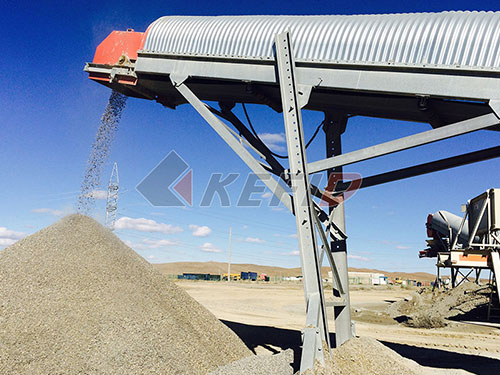
Advanced screening techniques for clean aggregate separation.
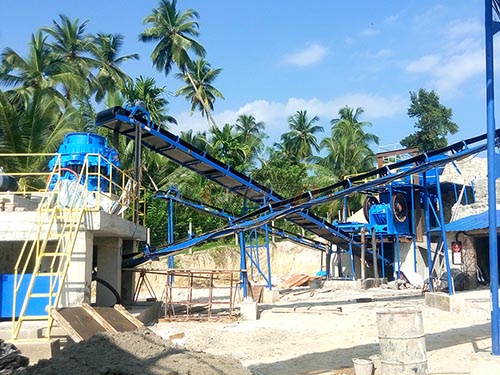
Efficient material handling strategies to minimize double-handling.
3. Safety Spotlight: Highlighting critical safety protocols specific to crushing sites – lockout/tagout