The Gritty Guide to Building Your Own Rock Crusher: Power in Your Hands
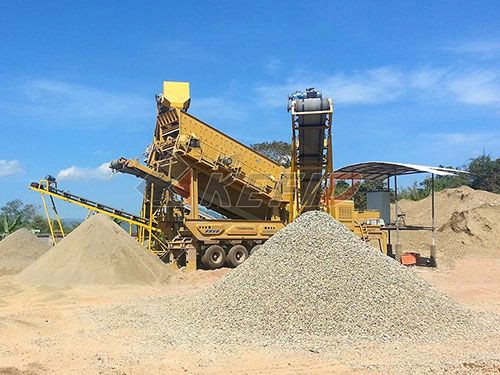
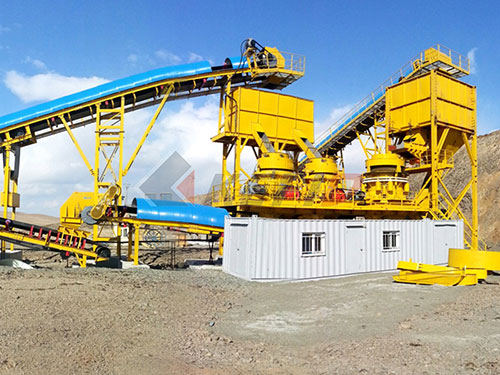
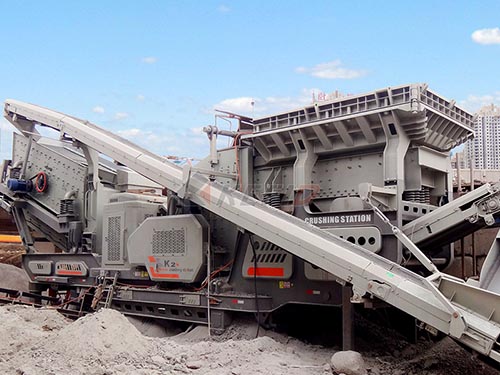
For homesteaders tackling stubborn fields, prospectors chasing elusive gold flakes, or avid landscapers crafting unique pathways, the need to break down rock is a common challenge. Commercial rock crushers exist but often carry price tags far beyond a hobbyist’s budget or project scope. This is where the ingenuity of the DIY rock crusher shines – transforming raw power and basic materials into a tool capable of conquering geology itself.
Why Go DIY?
Cost: The primary driver. Commercial units can cost thousands; a well-planned DIY crusher can be built for a few hundred dollars or even less using salvaged parts.
Customization: Tailor size, capacity, and power source (electric motor vs. gas engine) precisely to your needs – processing gravel for a driveway requires different throughput than pulverizing ore samples.
Satisfaction: There’s immense pride in creating a powerful functional tool from scratch that solves a tangible problem on your property.
Accessibility: For remote locations or small-scale projects where renting or buying commercial isn’t feasible.
Understanding the Core Principles
Before swinging a welder, grasp the fundamental mechanics:
1. Force Application: Crushing requires immense force concentrated onto rock.
2. Containment: Rock must be constrained within a chamber (“crushing chamber”) to direct force effectively and control fragment size.
3. Reduction Mechanism: How is the force applied? Common DIY approaches:
Jaw Crusher Principle: A fixed plate opposes a moving plate (“jaw”). Rock fed between them is crushed as the moving jaw cycles.
Hammer Mill Principle: Swinging hammers attached to a high-speed rotor pulverize rock flung against breaker plates inside a drum.
Roll Crusher Principle: Two counter-rotating cylinders pull rock down between them.
Common DIY Approaches
1. The Simple “Jaw” Crusher (Manual Power):
Concept: Think giant nutcracker or mortar-and-pestle scaled up.
Build: Heavy-duty steel pipe (3-4 inch diameter) forms the “mortar.” A solid steel rod acts as the “pestle.” Weld sturdy handles onto both pieces.
Use: Place rocks inside the pipe base; pound vertically with the pestle rod using significant muscle power
Leave a Reply